What to Do If Your App Is Rejected During Closed Testing
Receiving a rejection from Google Play during Closed Testing can be frustrating, especially if you’ve already spent time recruiting testers and optimizing your app. However, a rejection isn’t the end it’s an opportunity to fix the issues and reapply successfully.
In this guide, we’ll break down why apps get rejected during Closed Testing, how to fix common issues, and how to ensure your next submission gets approved.
Why Did Your App Get Rejected?
Google Play doesn’t always provide detailed reasons for rejections, but the most common causes include:
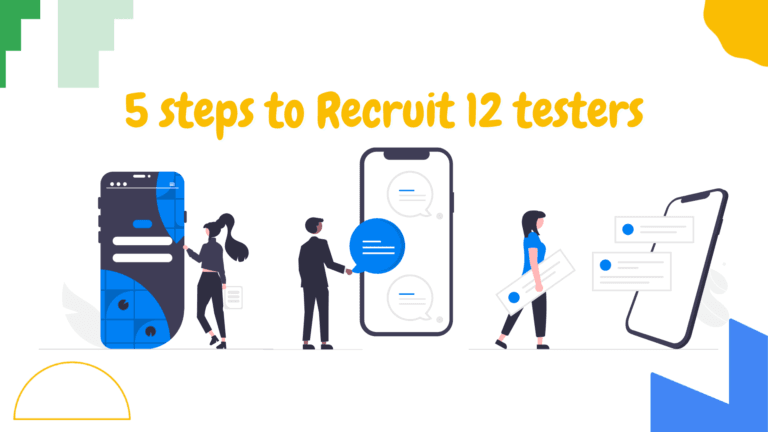
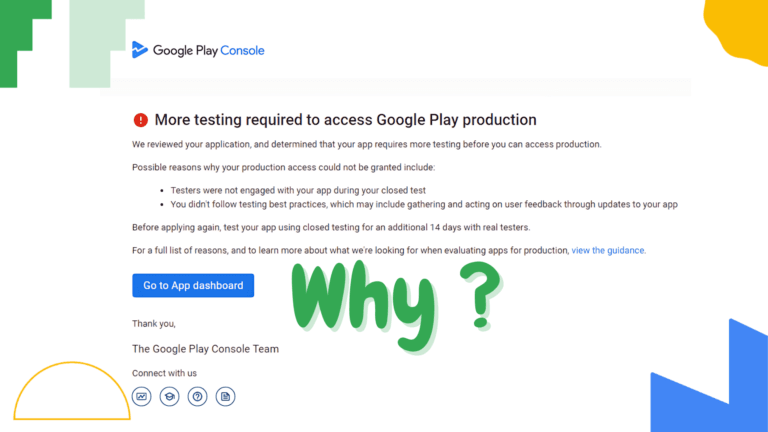
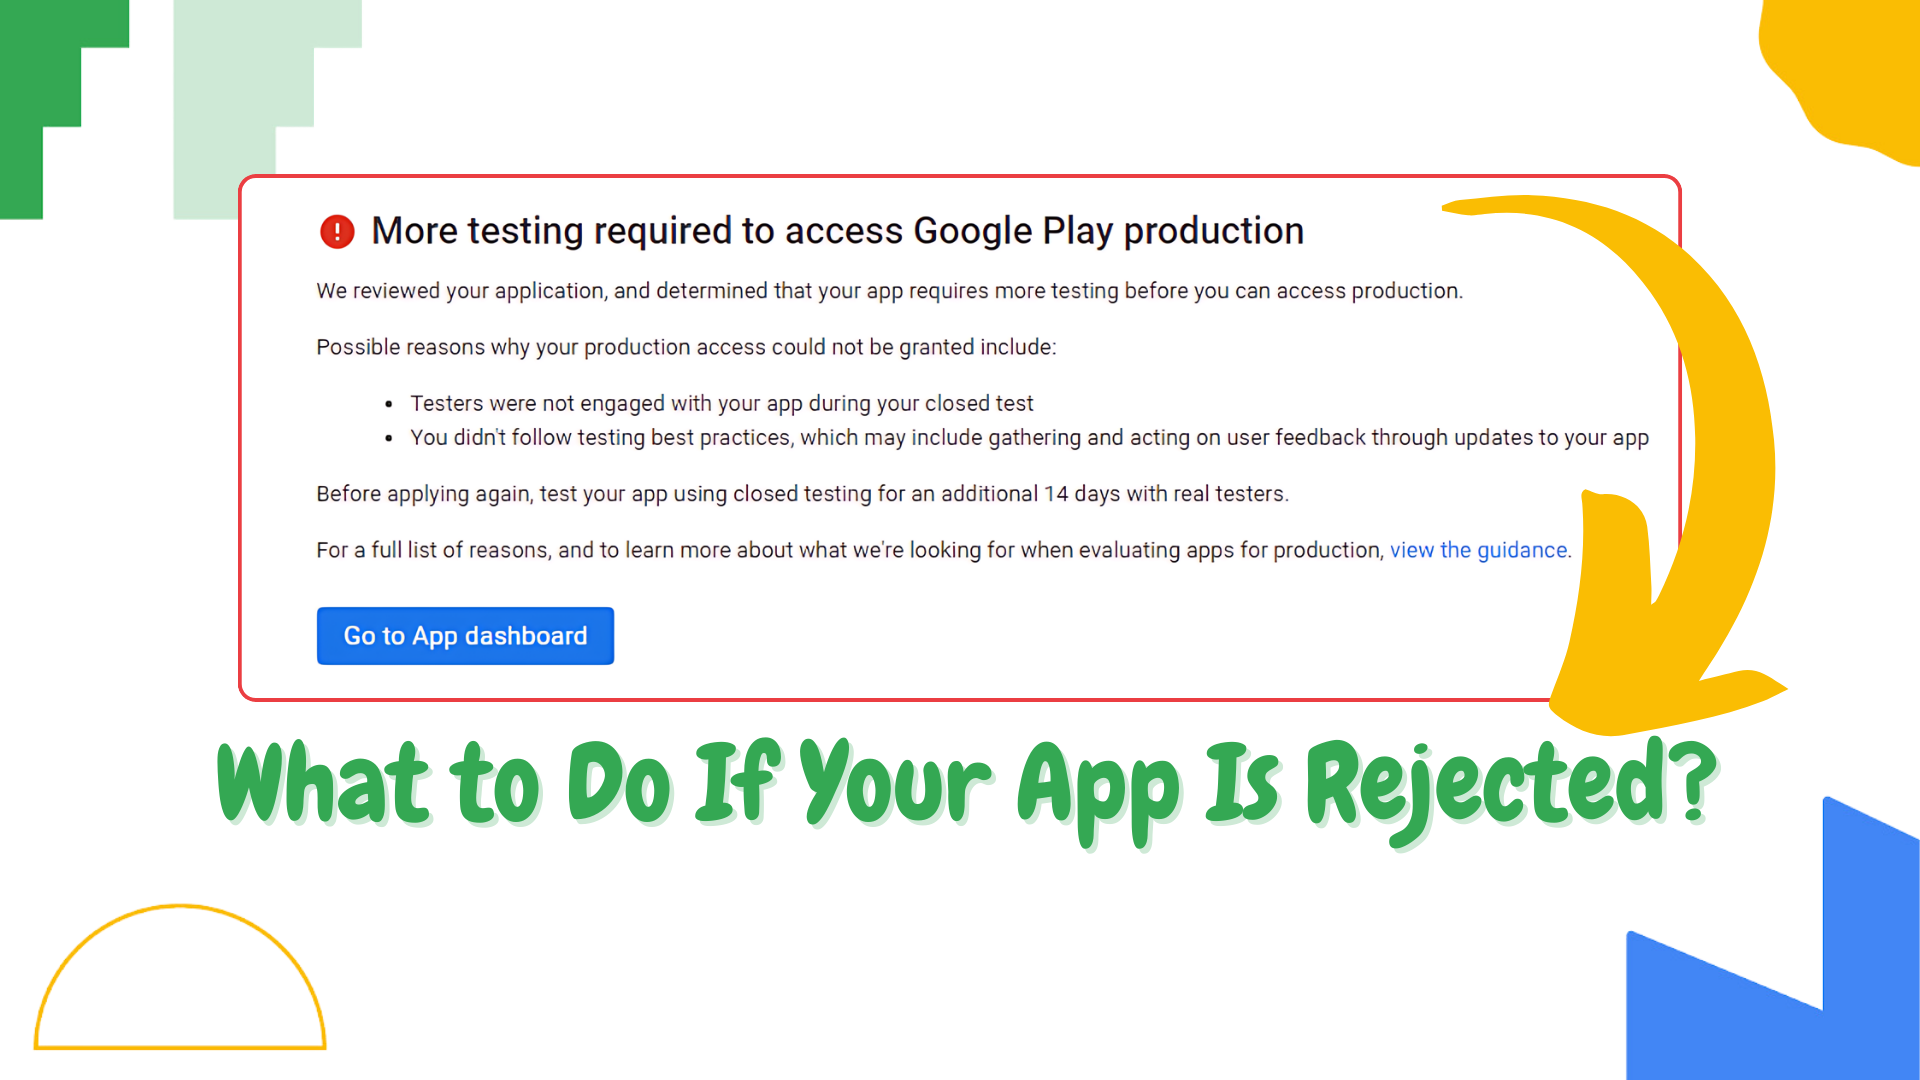
🚨 Not Meeting Closed Testing Requirements – If your app didn’t maintain 12 testers for 14 consecutive days, your submission will be rejected.
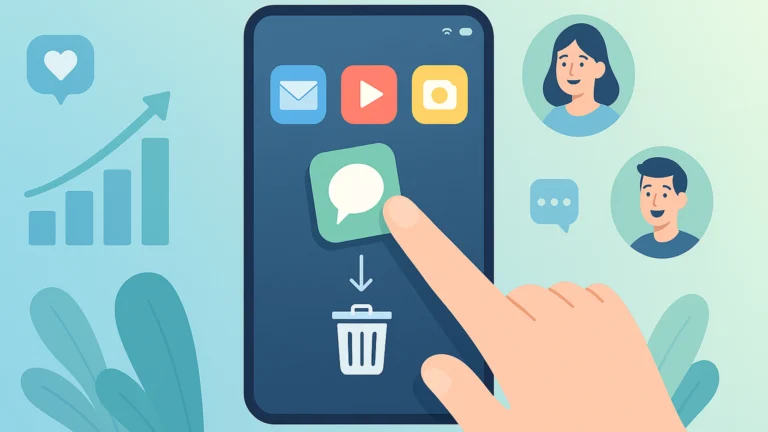
🚨 Violating Google Play Policies – Issues like permissions misuse, security vulnerabilities, or deceptive app behavior can lead to rejection.
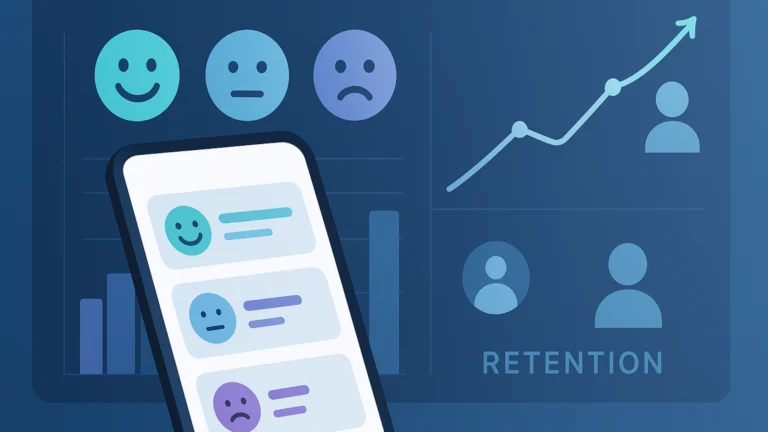
🚨 Low App Engagement During Testing – Google may reject apps if testers don’t engage enough, signaling that the app lacks real-world usability.
🚨 Technical Issues & Crashes – Frequent bugs, crashes, or poor performance can cause rejection.
🚨 Inadequate Tester Feedback – If testers don’t provide meaningful feedback, Google may assume the app hasn’t been properly tested.
Understanding the reason for your rejection is the first step toward fixing the issue and resubmitting your app.
Step 1: Review Google Play’s Rejection Notice
Whenever your app is rejected, Google Play Console will provide a notification with a reason.
🔹 Go to Google Play Console → App Status
🔹 Read the rejection message carefully
🔹 If unclear, check Google’s Developer Policy Center for details
If your rejection is due to insufficient testers, it means your app didn’t maintain 12 testers for the required 14-day period. This is one of the most common reasons apps fail Closed Testing.
👉 Need guaranteed 12 testers? We provide 12 testers who stay opted in for the full 14 days to ensure your app meets Google’s requirements.
Step 2: Fix the Identified Issues
Once you know why your app was rejected, take action to correct the problem.
If You Didn’t Meet the 12 Testers Requirement
✔ Check Tester Activity – Verify that your testers stayed opted in for the full 14 days.
✔ Replace Inactive Testers – Find committed testers who will remain active.
✔ Use a Reliable Tester Service – Our service ensures 12 testers stay enrolled, so you never have to start over.
If Your App Violates Google Play Policies
✔ Review Google’s Developer Policy Center – Look for any violations related to permissions, security, or deceptive practices.
✔ Remove Unnecessary Permissions – Avoid requesting sensitive permissions unless they are absolutely needed.
✔ Ensure Transparency – Clearly explain how your app uses data in your privacy policy.
If Your App Has Bugs or Crashes
✔ Test on Multiple Devices – Make sure your app runs smoothly across different Android versions.
✔ Fix Performance Issues – Optimize loading times, crashes, and any lagging UI elements.
✔ Get More Feedback – Ask testers to report any errors or glitches they experienced.
If Your App Lacks Sufficient Tester Feedback
✔ Encourage Testers to Submit Feedback – Google prefers apps that show active engagement from real users.
✔ Ask Specific Questions – Guide testers to report issues using structured feedback forms.
✔ Monitor Tester Activity – Low engagement can signal that your app isn’t ready for production.
If you’re struggling to find engaged 12 testers who actively use your app, our service provides real testers who interact with your app and provide detailed feedback.
Step 3: Improve Your App Before Resubmission
Once you’ve fixed the issues, follow these best practices to avoid another rejection:
✔ Conduct Another Round of Testing – Ensure all fixes are working properly before reapplying.
✔ Keep a Tester Communication Channel – A WhatsApp, Telegram, or email group can help testers stay engaged.
✔ Check Google Play Policies Again – Make sure your app fully complies with all guidelines.
✔ Optimize Your App Listing – Update your app description, screenshots, and privacy policy if needed.
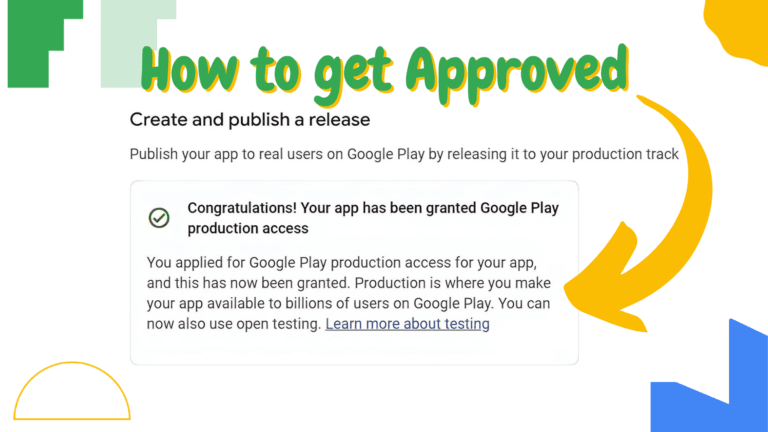
Step 4: Resubmit Your App for Review
Once everything is in place:
🔹 Log in to Google Play Console
🔹 Go to App Releases
🔹 Click Submit for Review
Google typically reviews resubmitted apps faster, but ensuring everything is correct before submitting will increase your chances of approval on the first try.
Avoid Future Rejections with a Reliable Testing Strategy
One of the biggest mistakes developers make is relying on random testers who drop out before the 14-day requirement is met. If your app is rejected due to insufficient testers, you may have to restart the entire process, delaying your launch.
Instead of taking that risk, you can use our 12 tester service to ensure you meet the 12 tester requirement without delays.
✅ 12 real testers who stay opted in for the full 14 days
✅ Active engagement and feedback to improve your app
✅ No more tracking or reminding testers—we handle everything
📌 Want to avoid rejections and get your app approved faster? Contact us today and secure your testers!
Final Thoughts
A Google Play rejection during Closed Testing doesn’t mean your app is doomed it just means there’s something to fix before resubmitting.
By carefully reviewing the rejection reason, fixing the issues, and ensuring you have reliable testers, you’ll increase your chances of getting approved on the next submission.
🚀 Need guaranteed testers to pass Google Play’s Closed Testing? Let us handle it for you! 🚀