
Step-by-Step Guide to Meeting Google Play’s Closed Testing Requirements
Google Play’s closed testing is a crucial step for developers who want to ensure their app is ready for production and meets the platform’s standards. With specific requirements, including testing with real users, providing valuable feedback, and adhering to a strict 14-day testing period, understanding how to navigate the process is essential. In this guide, we’ll walk you through the steps to meet Google Play’s closed testing requirements.
1. Understand the Closed Testing Criteria
Before beginning, familiarize yourself with the requirements set by Google Play. These include:
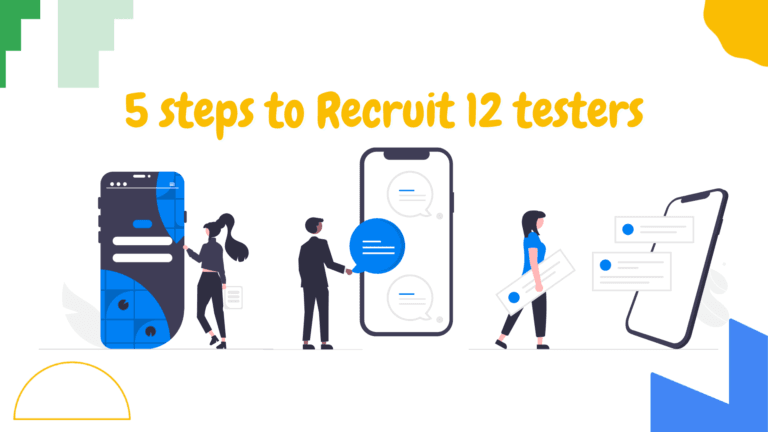
- 12 Real Testers: You need to recruit at least 12 testers.
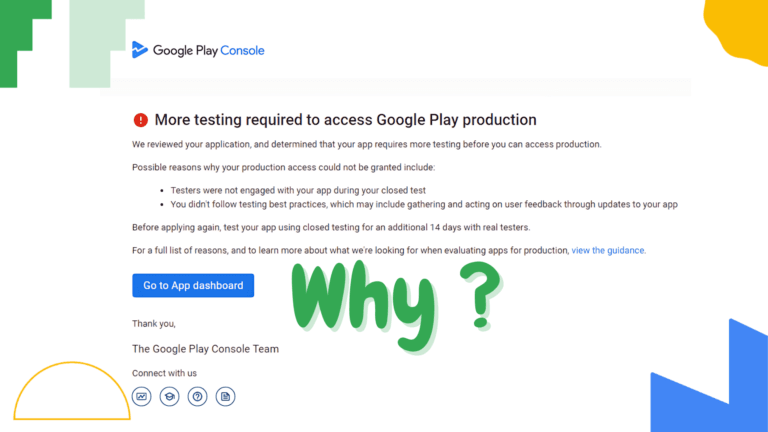
- 14 Consecutive Days: The testers must remain opted-in for 14 days without interruption. If a tester opts out and rejoins, they won’t count toward the consecutive testing requirement.
- Active Tester Engagement: Testers should engage with your app, providing feedback and reporting issues.
2. Set Up Your Google Play Console Account
To begin, you’ll need a Google Play Console account. Once your account is set up:
- Navigate to Testing in the left-hand menu of your console.
- Choose Closed Testing under the testing options. This is where you’ll set up your testing process.
3. Create a Closed Testing Track
In the Google Play Console, you’ll create a closed testing track. This allows only your selected testers to access the app before its public release.
- Name the track, e.g., “Beta Test” or “Closed Test.”
- Set up any additional details like version numbers or changelogs so testers know what to expect.
4. Invite Testers
Recruit at least 12 real testers, as specified. You can invite them by:
- Email Invitations: You’ll need their email addresses to invite them via the Play Store. They’ll receive a link to download your app.
- Google Groups: Set up a Google Group if you want to manage tester communication easily.
It’s essential to choose testers who can provide diverse feedback, covering a wide range of devices, operating systems, and user experiences.
5. Provide Clear Testing Instructions
Once your testers are onboard, provide them with clear instructions:
- How to Install: Explain how they can access and install your app via the invite link.
- What to Test: Specify which features you need feedback on or any areas where you’re focused on bug testing.
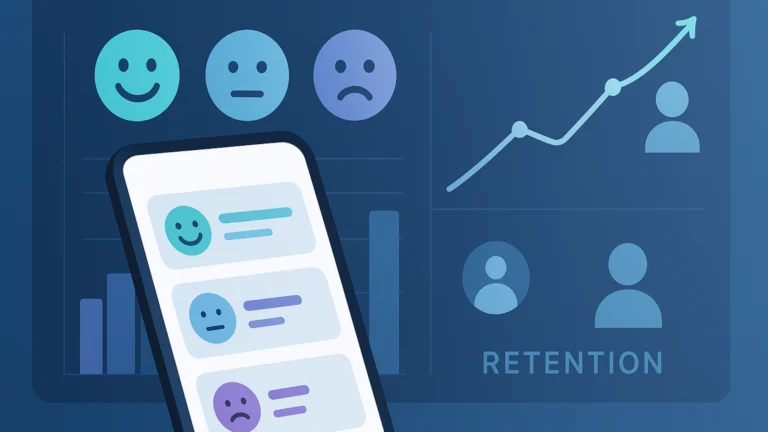
- Feedback Channels: Set up a feedback system where testers can report bugs, ask questions, or provide comments. This could be via email, a Google Form, or a dedicated chat group.
6. Monitor the Testing Process
As your testers begin their 14-day testing, actively monitor their engagement:
- Tester Participation: Check in with testers to ensure they’re remaining engaged throughout the period.
- Feedback Collection: Gather their feedback regularly and address any issues they bring up.
Use Google Play Console’s Tester Feedback section to review reported issues and prioritize fixes.
7. Address Issues and Fix Bugs
Once you start receiving feedback, you may uncover bugs, crashes, or performance issues. Address these by:
- Bug Fixing: Prioritize the bugs reported by testers. It’s crucial to address the critical issues that affect usability and performance.
- App Optimizations: After fixing bugs, make any necessary optimizations to ensure smoother app performance.
8. Ensure Testers Stay Engaged
Since the 14-day period is crucial, ensure that testers remain opted-in for the entire duration. If testers drop out, they won’t count toward the minimum requirement.
- Engage Your Testers: Keep testers engaged by sending regular updates, acknowledging their feedback, and encouraging them to continue testing.
9. Complete the Testing Phase
After 14 consecutive days of testing, you can now review the overall feedback, fix any outstanding issues, and prepare for the next steps in the app approval process.
- Review Test Results: Analyze the feedback to identify any patterns, issues that could affect your app’s launch, and areas for improvement.
- Finalize Updates: Make final adjustments based on the feedback.
10. Prepare for Production
Once the testing phase is complete and your app is ready, submit your app for production access on the Play Console. This means your app has passed the closed testing phase, and it’s ready to be launched publicly.
Conclusion
By following these steps, you’ll be able to meet Google Play’s closed testing requirements and improve your app before its public release. The key to success is engaging real testers, collecting actionable feedback, and making necessary adjustments to ensure your app performs well in real-world conditions. With thorough testing and thoughtful fixes, you can increase your chances of app approval and launch with confidence. Need help finding testers? We provide real testers to ensure your app meets the requirements. Contact us today!